How to Record Your Screen on Windows 10
Are you interested in creating tutorials, presentations, or gaming videos on your Windows 10 computer? If so, screen recording is an essential tool that you need to master. Screen recording can capture your computer screen, audio, and webcam, allowing you to create engaging and informative content.
But how to record your screen on Windows 10? No worries. In this article, we will give you 3 different types of tools: Windows 10 built-in Xbox Game Bar, a third-party application OBS Studio, and the online service, with detailed steps, to help you make this job done easily.
Now please keep reading and find the one which meets your needs perfectly.
Table of Contents
Method 1. How to Record Your Screen with Xbox Game Bar
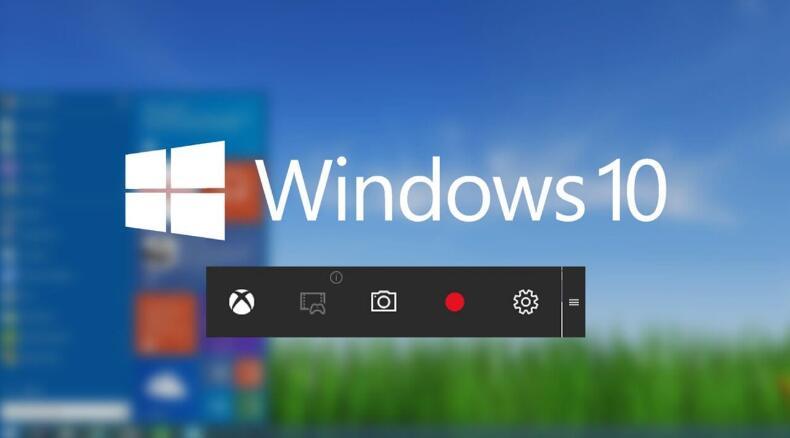
The Xbox Game Bar is a feature on Windows 10 that allows users to access gaming tools, including screen recording, without leaving their game or app. It's a handy tool for gamers, but it's also a useful feature for anyone who needs to record their screen for work or personal use.
Step 1. Accessing and Enabling the Xbox Game Bar
To access the Xbox Game Bar, simply press the Windows + G keys or click the Start menu and type "Xbox Game Bar." Once you're in the Xbox Game Bar, make sure that the screen recording feature is enabled in the settings. If it's not, go to Settings > Gaming > Xbox Game Bar and toggle on the option "Record game clips, screenshots, and broadcast using the Game bar."
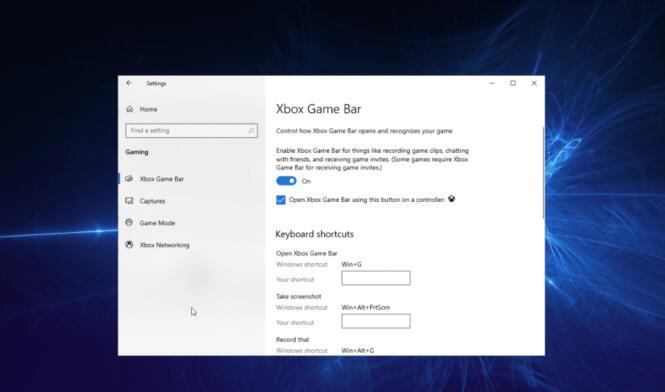
Step 2. Starting and Stopping a Screen Recording
To start a screen recording with the Xbox Game Bar, press Windows + G keys or click the Start menu and type "Xbox Game Bar" to open the overlay. Then, click the Capture widget or press Windows + Alt + R keys to start recording. A small toolbar will appear on the screen with options to pause, resume, or stop the recording.
To stop the recording, click the stop button or press Windows + Alt + R keys again. The recorded video will be saved in the Videos > Captures folder by default.
Tips and Tricks for Using the Xbox Game Bar
Customization is key when it comes to using the Xbox Game Bar for screen recording. Here are some tips and tricks to make the most of this feature:
1. Change the default save location by going to Settings > Gaming > Captures and clicking on "Open folder" under "Saving captures."
2. Adjust the video quality, resolution, frame rate, and audio settings by going to Settings > Gaming > Captures and customizing the options under "Recorded video."
3. Record a specific window or app instead of the entire screen by opening the app and pressing Windows + Alt + G keys to start recording.
4. Add a webcam overlay or microphone audio to the recording by clicking on the microphone or camera icons on the Capture widget before starting the recording.
5. Edit or trim the recorded video using the Xbox Console Companion app or a third-party video editor.
Method 2. How to Record Your Screen on Windows 10 with OBS Studio
Besides Microsoft’s own applications, you can also choose some other so-called third-party software, which refers to programs that are created by a company or developer other than Microsoft. These programs can offer more features and flexibility than the built-in Windows tools, such as the Xbox Game Bar, which only allows basic screen recording.
And here in this article, we recommend you a free and open-source software - OBS Studio. OBS Studio allows live streaming and screen recording with multiple sources and scenes. It offers extensive settings and plugins for customization and supports live streaming to various platforms.
However, it is not without its drawbacks, including a steep learning curve, complex interface, high CPU usage and lag issues, and no built-in video editing tools. Please note this information before you take OBS Studio into your pocket to record Windows 10 screens and follow the steps below.
Step 1. Downloading and installing OBS Studio on Windows 10
To start using OBS Studio on your Windows 10 computer, you'll need to download and install it first. Here are the steps:
1. Go to OBS official site and click on "Windows" to download the installer file.
2. Run the installer file and follow the instructions to install OBS Studio on your computer.
3. Launch OBS Studio and complete the auto-configuration wizard (if prompted) or skip it to manually configure your settings later.
Step 2. Starting and stopping a screen recording with OBS Studio
Once you have installed OBS Studio, you can start recording your screen by following these steps:
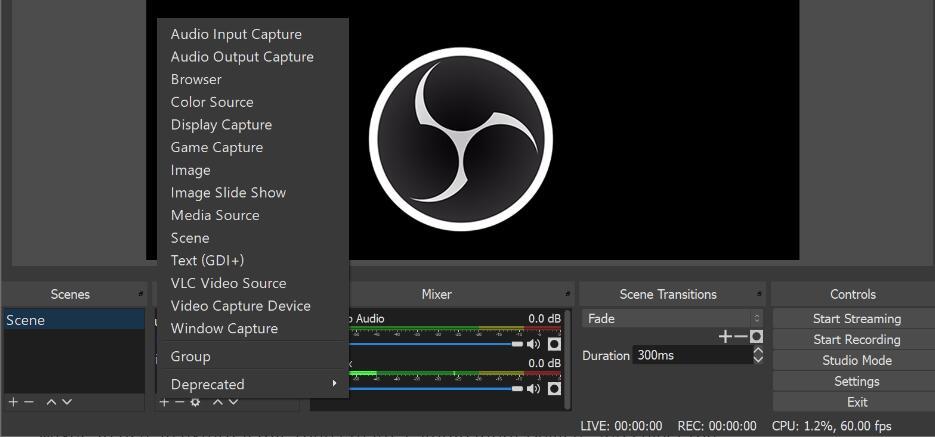
1. Click on the "+" icon under the "Sources" panel to add a source for your screen recording (e.g., Display Capture, Window Capture, Game Capture, etc.).
2. Adjust the source properties and position as needed.
You can also add other sources such as audio, webcam, text, image, etc., and arrange them in different scenes.
3. Click on the "Settings" button in the bottom right corner to customize your output, video, audio, hotkeys, and other settings as needed.
4. Click on the "Start Recording" button in the bottom right corner to start recording.
5. To stop the recording, click on the "Stop Recording" button or press your assigned hotkey.
6. The recorded video will be saved in the output folder that you specified in the settings.
Method 3. How to Record Your Screen on Windows 10 Using Online Service
Online services are cloud-based platforms that allow users to access software and tools from any device with an internet connection. This means that you don't need to download or install any software on your computer, which can save you time and storage space. Online services are also easy to use and offer a range of features and capabilities.
In this part, you will get two popular such tools: Loom and Screencast-O-Matic.
1. Loom- Record Screen on Windows 10
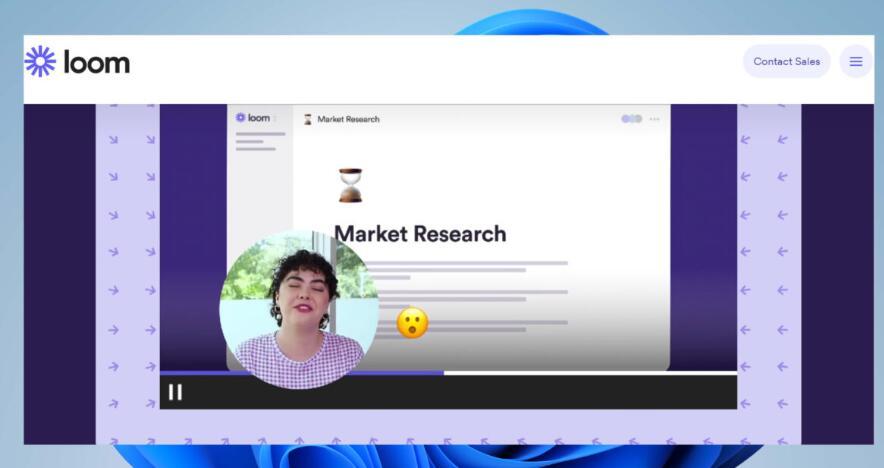
Loom is a cloud-based service that allows you to record your screen, webcam, and voice with a simple browser extension or desktop app. And here are some features, good and bad, which are worth considering before you start using it.
Pros:
- Easy and fast to use
- Supports HD quality and unlimited recording time (for paid plans)
- Allows instant sharing and collaboration via links or email
- Offers basic editing tools
Cons:
- Requires an internet connection and account registration
- Limits free plan to 25 videos and 5 minutes per video
- Does not support live streaming or advanced editing features
- Steps to Using Loom to Screen Record on Windows 10
To use Loom on Windows 10, follow these steps:
1. Go to Loom and sign up for a free or paid account.
2. Download and install the Loom browser extension (for Chrome, Firefox, Edge, or Opera).
3. Launch the extension and sign in with your account.
4. Choose the recording mode from the options: Screen + Cam, Screen Only, or Cam Only.
5. Adjust the recording settings such as camera position, microphone source, resolution, etc.
6. Click on the "Start Recording" button to start recording.
7. A countdown will appear on the screen, and then the recording will begin.
8. To stop the recording, click on the "Finish" button or press Alt + L keys.
9. The recorded video will be uploaded to your Loom account, and you can access it via a link or email it to others.
10. You can also edit or trim the video online using Loom's basic editing tools.
2. Screencast-O-Matic: Windows 10 Screen Record
Screencast-O-Matic is a popular online service that offers screen recording with advanced editing tools and features. The service allows users to record their screen, webcam, and audio with a simple launcher or desktop app. Screencast-O-Matic offers support for HD quality and up to 15 minutes per video (for free plan users), and allows saving to a local drive or cloud storage, such as Google Drive or YouTube.
Pros and Cons of Screencast-O-Matic
On the positive side, Screencast-O-Matic offers advanced editing tools and features, such as zoom, annotations, and transitions. It also supports HD quality and up to 15 minutes per video on the free plan. Users can save their recordings to their local drive or cloud storage, and the service is accessible through a simple launcher or desktop app.
On the negative side, Screencast-O-Matic requires an internet connection and account registration for some features. The free plan is limited to 15 videos and adds a watermark to recordings. Additionally, the service does not support live streaming or collaboration features.
Steps to Using Screencast-O-Matic to Screen Record on Windows 10
Now that we've introduced Screencast-O-Matic, let's go through the steps for using it on Windows 10.
Step 1: Launch Screencast-O-Matic
Go to the Chrome web store, or other browser extension markets to get Screencast-O-Matic extension, add it to your browser, and launch it.
Step 2: Choose Recording Mode
Once you've launched the recorder, you can choose the recording mode from the options: Screen + Webcam, Screen Only, or Webcam Only.
Step 3: Adjust Recording Settings
Before starting the recording, you can adjust the recording settings such as recording area, microphone source, webcam size, etc. This will ensure that your recording is of the highest quality.
Step 4: Start Recording
Click on the "Rec" button to start recording. A countdown will appear on the screen, and then the recording will begin.
Step 5: Stop Recording
To stop the recording, click on the "Done" button or press the Alt + P keys. The recorded video will be saved to your local drive or cloud storage (such as Google Drive or YouTube) depending on your choice.
Step 6: Edit the Video
You can also edit or trim the video online or offline using Screencast-O-Matic's advanced editing tools and features. This will allow you to create a polished final product that meets your needs.
FAQs about Windows 10 Screen Recording
Does Windows 10 have a built-in screen recording feature?
Yes, Windows 10 has a built-in screen recording feature called Game Bar.
How do I open Game Bar?
Press the Windows key + G on your keyboard to open Game Bar.
Can I use Game Bar to record anything on my screen?
No, Game Bar is primarily designed to record gameplay, but you can also use it to record other activities.
How do I start recording my screen using Game Bar?
Open the app or window you want to record, press the Windows key + G to open Game Bar, click on the Record button, and then select the screen you want to record.
Can I customize the settings in Game Bar?
Yes, you can customize the audio and video settings in Game Bar to suit your needs.
Where are my recorded videos saved?
By default, your recorded videos are saved in the Captures folder, which can be found in the Videos folder.
Can I use third-party software to record my screen on Windows 10?
Yes, there are many third-party screen recording software available for Windows 10, such as Camtasia, OBS Studio, Movavi Screen Recorder, and Filmora Screen Recorder.
Is there any free screen recording software for Windows 10?
Yes, there are several free screen recording software available for Windows 10, such as OBS Studio, ShareX, and FlashBack Express.
The Bottom Line
Now you just have all three methods covered about how to record your screen on Windows 10. In brief, if you are a beginner or have the very basic needs for screen recording, the XBOX Game Bar would be a good option; If you have some more requirements for the screen recording tool and no worry about how to use it, then OBS Studio is definitely the answer; And if you kind of get annoyed about downloading and installing some applications on your Windows 10 computer, then the online service way can help you.
