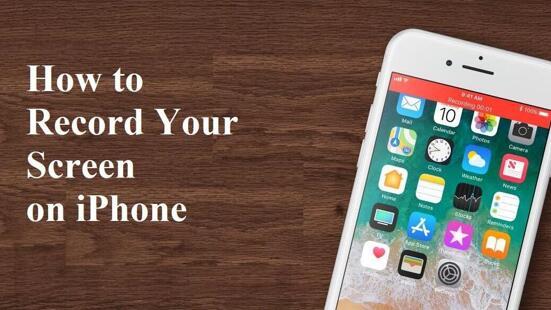
How to Screen Record on iPhone XR in 2023
Screen recording on an iPhone XR can be useful for a variety of reasons. For starters, it allows users to capture and share interesting or important moments that occur on their phone screen, such as a funny social media post or a critical work email. Screen recording can also be used to create tutorials or walkthroughs for apps or software, allowing users to easily share their knowledge and expertise with others. Additionally, screen recording can be helpful for troubleshooting technical issues or reporting bugs to developers, as it provides a clear visual record of what happened on the device leading up to the problem.
Overall, screen recording on an iPhone XR can be versatile and valuable for anyone looking to share, learn, or troubleshoot on their mobile device.
Table of Contents
What Cases to Screen Record on Your iPhone XR?
Screen recording on an iPhone XR can be useful in a variety of situations, including:
1. Demonstrating how to use an app: If you want to show someone how to use an app on your iPhone XR, you can record your screen while using the app and send them the video.
2. Capturing a game or tutorial: If you're playing a game or following a tutorial, you can record your screen to capture the action and review it later.
3. Creating a tutorial or demo video: If you're creating a tutorial or demo video for an app or website, you can record your screen to capture the process step-by-step.
4. Recording video calls: If you're having a video call on your iPhone XR, you can record the call to review it later or share it with others who couldn't attend.
5. Capturing important information: If you receive important information or an error message on your iPhone XR, you can record your screen to review it later or share it with someone who can help you troubleshoot the issue.
Screen recording on an iPhone XR can be useful for sharing information, capturing important moments, and creating helpful tutorials or videos.
How to Screen Record on iPhone XR
Here are the steps to screen record on an iPhone XR:
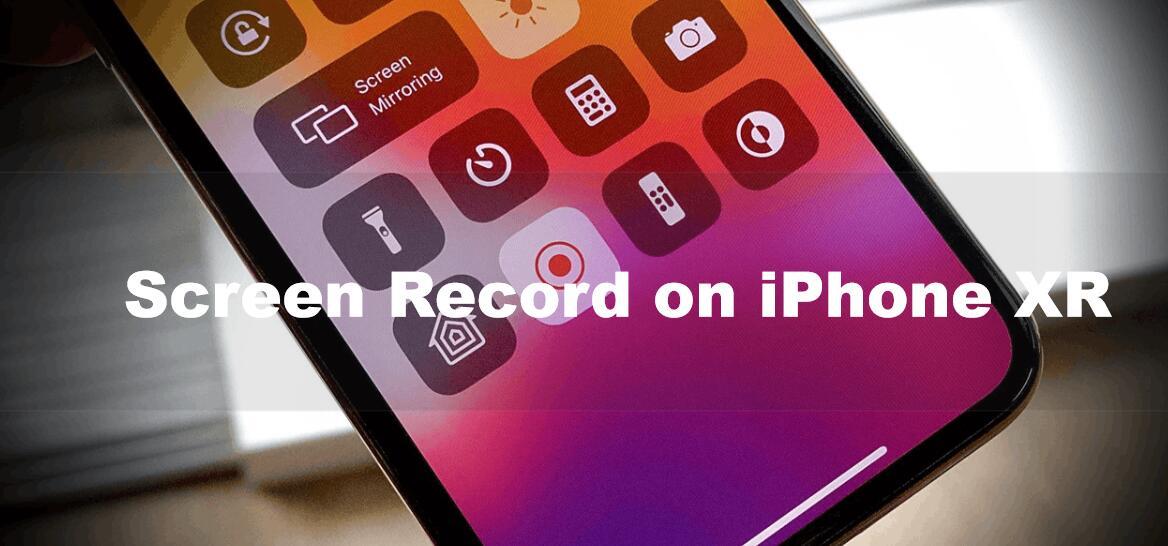
1. First, open the Control Center by swiping down from the top right corner of the screen.
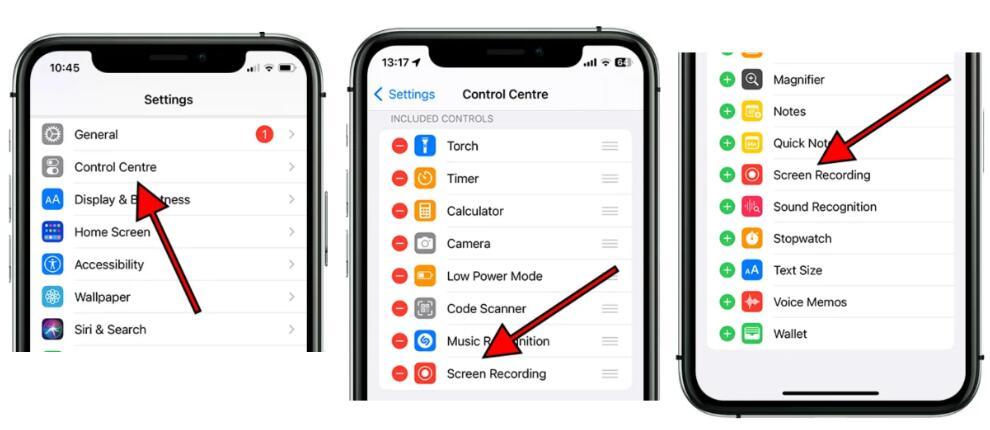
2. Look for the "Screen Recording" icon, which looks like a circle within another circle. If you can't find it, you can add it by going to "Settings" > "Control Center" > "Customize Controls" and then adding the "Screen Recording" option.
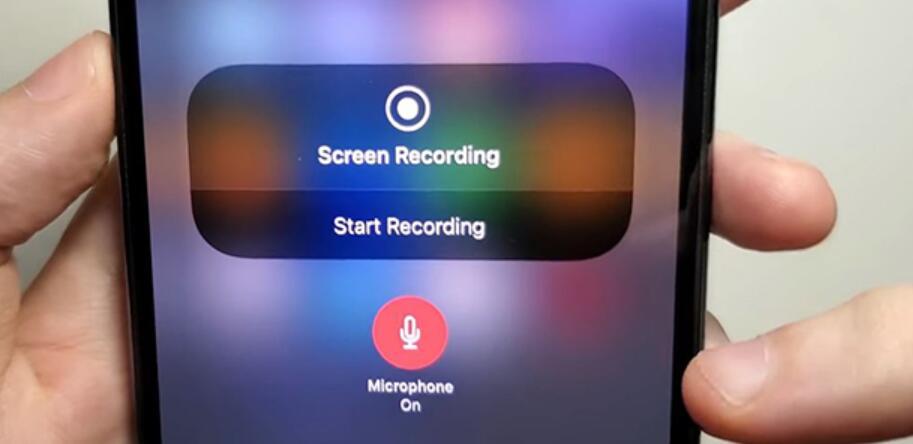
3. Tap on the "Screen Recording" icon. A countdown timer will appear, giving you a few seconds to prepare before recording begins.
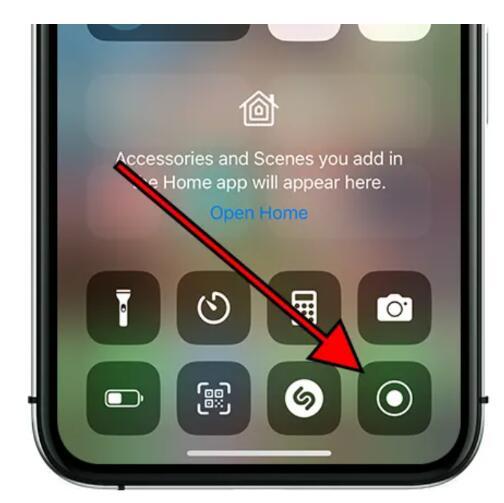
4. To start recording, simply tap on the red bar at the top of the screen. A message will appear, indicating that your iPhone is now recording the screen.
5. While recording, you can add audio narration by pressing and holding the "Screen Recording" icon in the Control Center and then selecting "Microphone Audio."
6. To stop recording, simply tap on the red bar again or go to the Control Center and tap on the "Screen Recording" icon.
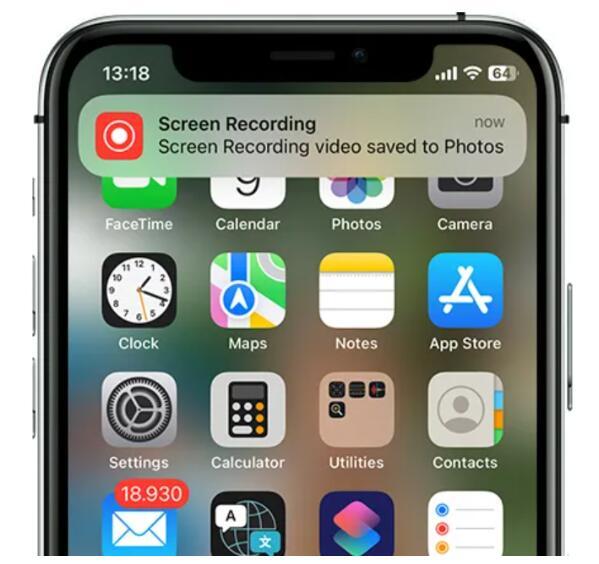
7. The recorded video will be saved in your Photos app, where you can edit and share it as needed. That's it!
Problems You May Meet Wehn Screen Recording on iPhone XR
While screen recording on an iPhone XR is relatively straightforward, there are some common issues that you may encounter. Here are frequent problems and solutions:
1. Screen recording is not available or cannot be added to the Control Center:
If you cannot find the "Screen Recording" option in the Control Center or cannot add it, make sure your iPhone is updated to the latest version of iOS. If that doesn't work, try resetting your iPhone's settings by going to "Settings" > "General" > "Reset" > "Reset All Settings."
2. The audio is not being recorded:
If you are not getting audio in your screen recordings, make sure that you have enabled audio recording by holding down the "Screen Recording" icon in the Control Center and selecting "Microphone Audio." Also, ensure that the volume is turned up on your device.
3. The screen recording is blurry or low quality:
If your screen recording is blurry or low quality, check the settings of the recording. You can adjust the quality of the recording by going to "Settings" > "Control Center" > "Screen Recording" and then selecting "High Quality." Also, ensure that your iPhone has enough storage space for high-quality recordings.
4. Screen recording stops automatically:
If your screen recording stops automatically after a few seconds, it may be because you have a low battery or storage space. Try deleting some files or apps to free up space, or charge your iPhone before starting the recording.
5. The recorded video is not saved or cannot be found:
If you cannot find the recorded video in the Photos app, try restarting your iPhone or checking if the video is saved in the Recently Deleted album. If you still can't find it, you may need to try recording again.
By troubleshooting these common issues, you should be able to fix common problems you encounter while screen recording on your iPhone XR.
The Bottom Line
Screen recording on your iPhone XR is an easy and useful feature that can enhance your mobile experience. Whether you want to share a tutorial, capture gameplay, or simply save a memorable moment on your phone, screen recording can help you achieve that. With the simple steps outlined in this article, you can start recording your iPhone XR screen in no time.
Remember to keep in mind the limitations of the feature, such as the inability to record sound from external sources, and to use it responsibly, respecting others' privacy and intellectual property. By utilizing this feature, you can unlock new possibilities and make the most out of your iPhone XR.
